Hitting the trails with your bike in tow is an exhilarating experience. But before you set off on your adventure, securely mounting your bike on your Thule bike rack is crucial.
Worry not, fellow cyclist! “How To Mount Bike On Thule Bike Rack” comprehensive guide will walk you through the process, ensuring your precious two-wheeled (Bike) companion arrives at the destination safe and sound.
- Choose the Right Thule Bike Rack
- Step 1: Gather Your Tools
- Step 2: Position the Crossbars (for Roof-Mounted Bike Racks)
- Step 3: Attach the Mounting Feet
- Step 4: Mount the Bike Rack
- Step 5: Load Your Bike
- Secure the Bike
- Mounting the bikes:
- Which Thule bike rack do I have, and where can I find instructions?
- What tools do I need to mount my bike on the rack?
- Do I need to remove the front wheel of my bike for any Thule rack?
- How do I secure my bike properly on the rack?
- Are there any weight limitations I should be aware of?
Step-by-Step Guide: How to Mount a Bike on a Thule Bike Rack
Step 1: Gather Your Tools
Most Thule bike rack installations require minimal tools, often included in the package. Common tools you might need include:
- Allen wrenches
- Screwdrivers
- Straps (if not included with the rack)
Step 2: Position the Crossbars (for Roof-Mounted Bike Racks)
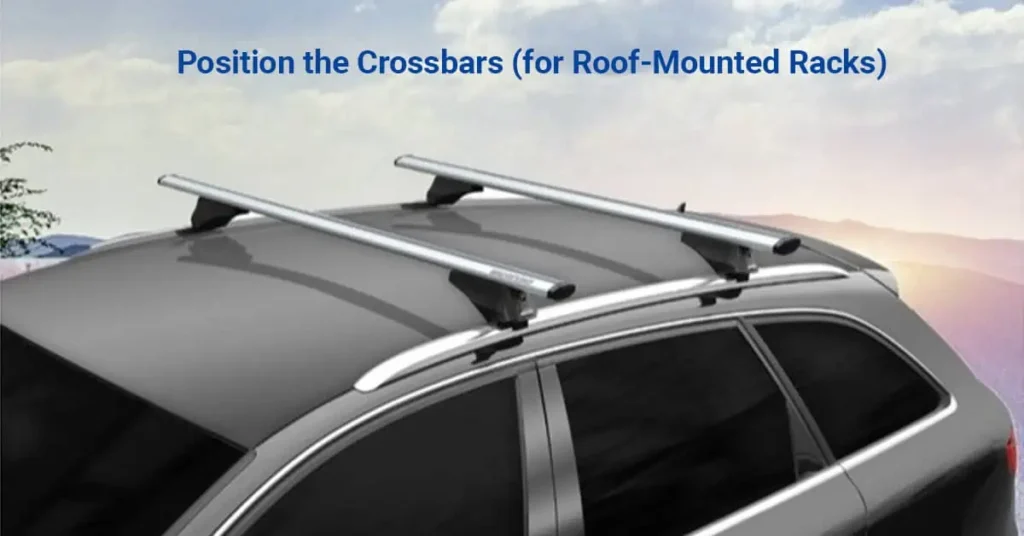
If you’re using a roof-mounted Thule bike rack, position the crossbars on the roof of your vehicle. Ensure they are evenly spaced and aligned parallel to each other.
Step 3: Attach the Mounting Feet
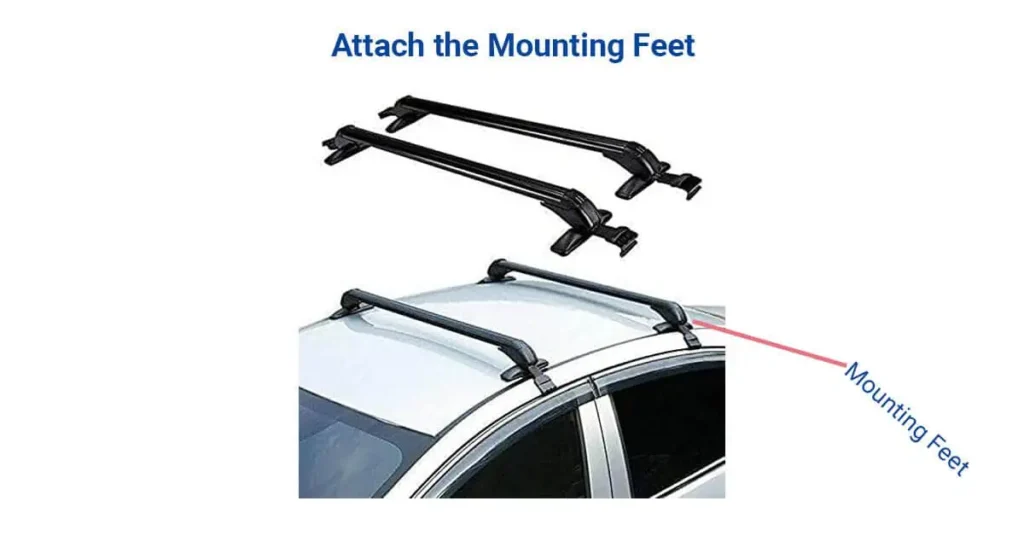
For roof-mounted racks, attach the mounting feet to the crossbars according to the manufacturer’s instructions. Use the provided tools to tighten the mounting feet securely. Now let’s get your bike ready for mounting.
Step 4: Mount the Bike Rack
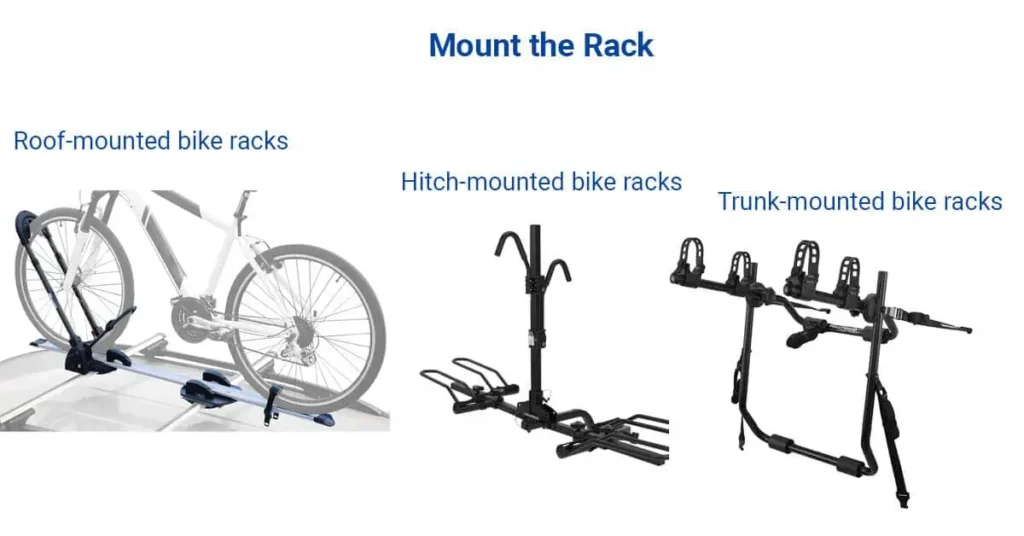
This step varies depending on your Thule bike rack type. Here’s a quick breakdown:
- Roof-mounted bike racks: Secure the rack to your vehicle’s roof rails using the provided clamps and straps. Double-check all connections for tightness.
- Hitch-mounted bike racks: Insert the rack’s shank into the tow hitch receiver and tighten the hitch pin securely. Consult your car’s manual for specific torque recommendations.
- Trunk-mounted bike racks: Follow the rack’s instructions to attach it to your car’s trunk lid or hatch, ensuring all straps and hooks are firmly secured.
Step 5: Load Your Bike
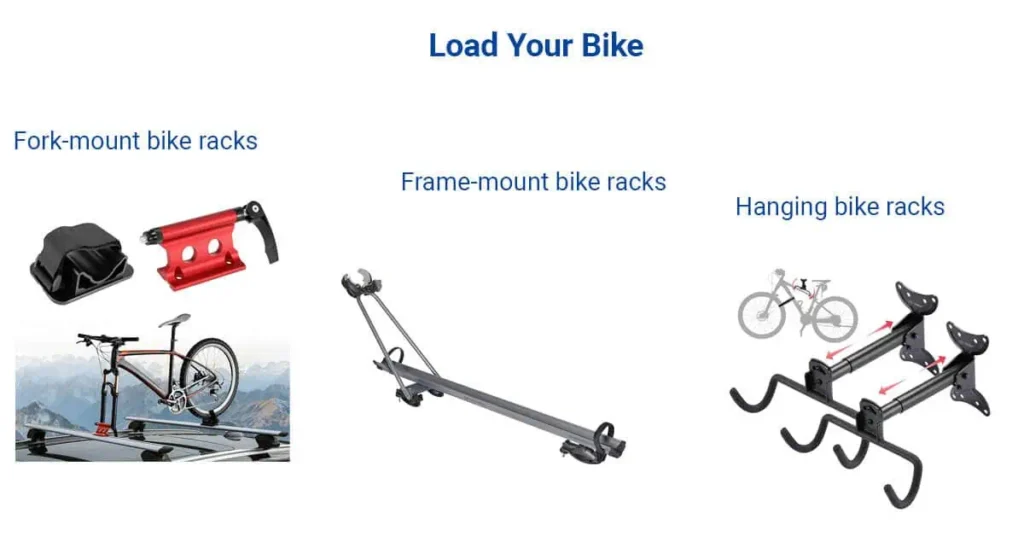
With the Thule bike rack mounted, it’s time to load your bike! Again, the process differs slightly depending on the rack type:
- Fork-mount bike racks: Secure the bike’s front fork in the designated holder and tighten the straps. Ensure the rear wheel is properly secured in the wheel tray.
- Frame-mount bike racks: Position the bike frame in the designated cradle and tighten the securing clamps. Double-check the rear wheel strap for tightness.
- Hanging bike racks: Lift the bike onto the rack’s arms and secure it using the provided straps. Ensure the bike is balanced and doesn’t sway excessively.
Secure the Bike
Follow these steps to secure your bike on the Thule bike rack:
- Frame Attachment: Lift your bike and position it on the rack. Attach the frame to the designated points on the rack. Thule racks usually have adjustable straps or clamps to secure the frame.
- Wheel Mounts: If your Thule rack has wheel mounts, place the bike wheels in them. Tighten the straps or secure the wheel trays.
- Additional Security: Use additional straps or bungee cords to prevent any movement during transit.
Check Stability
Before hitting the road, take a moment to thoroughly inspect your Thule bike rack installation. Ensure all straps, clamps, and connections are secure. Give your bike a wiggle test to confirm it’s firmly mounted and won’t move during transport.
Repeat for Additional Bikes
If you’re carrying multiple bikes, repeat the process for each one. Remember to load the heaviest bike closest to the car and the lightest furthest away.
Carbon Bikes and Thule Racks
If you have a carbon fiber bike, you can mount it on Thule racks equipped with torque limiter knobs (such as Thule ProRide or Thule EasyFold XT) along with the Carbon Frame Protector accessory 2.
How To Attach Thule Bike Rack To Hitch
this is already provided in this article to guide you the “attaching a Thule bike rack to a hitch”. As you mentioned, Thule offers various hitch-mounted racks, each with specific installation steps. Quick guide:
- Select the Right Thule Bike Rack:
- Ensure you have a hitch-mounted Thule bike rack suitable for your vehicle. Different models fit different hitch sizes (e.g., 1.25-inch or 2-inch receivers).
- Position the Bike Rack:
- Slide the bike rack shank into the hitch receiver until the hitch pin holes align.
- Insert the Hitch Pin:
- Insert the hitch pin through the aligned holes.
- Secure it with a clip or lock, depending on the type of pin provided.
- Some Thule bike racks may have an additional bolt or mechanism to reduce wobbling.
How To Remove Thule Bike Rack From Hitch
- Unload the bikes: Ensure all bikes are removed from the rack before proceeding.
- Locate the hitch pin: This pin secures the rack shank to the hitch receiver. It might be a threaded pin with a nut or a quick-release pin.
- Remove the hitch pin: For threaded pins, loosen the nut with a wrench and remove the pin. For quick-release pins, push the release mechanism and pull out the pin.
- Lift the rack shank: Once the pin is removed, carefully lift the rack shank straight up out of the hitch receiver.
- Store the rack safely: Secure the rack in a safe place to prevent damage.
- Reinsert the hitch pin: If your hitch requires a pin for safe driving, reinsert the hitch pin and secure it properly.
How To Put Bikes On Thule 4-Bike Rack
Loading bikes onto a Thule 4-bike rack is a straightforward process. Let’s start step by step:
Mounting the bikes:
- Start with the heaviest bike: Place it closest to the vehicle on the rack’s cradle or arm. This helps distribute weight evenly.
- Secure the first bike: Follow your rack’s instructions for using straps, clamps, or other mechanisms to secure the bike frame and wheels.
- Load subsequent bikes: Alternate the direction of each bike for better clearance and stability. For example, if the first bike faces outward, the second should face inward.
- Secure each bike individually: Repeat step 2 for each additional bike, ensuring all are securely fastened.
- Double-check everything: Give each bike a wiggle test to confirm they’re secure and won’t move during transport. Check all straps, clamps, and connections for tightness.
Thule Bike Rack Installation Video
Which Thule bike rack do I have, and where can I find instructions?
Identifying your specific Thule bike rack model is crucial. This information is usually printed on the rack itself or found in the user manual. With the model name or number, you can easily download the user manual from Thule’s website (https://www.thule.com/en-us/thule-support/manuals) or search for relevant installation guides.
What tools do I need to mount my bike on the rack?
Most Thule bike racks require minimal tools for installation, often included in the package. Common tools you might need include Allen wrenches, screwdrivers, and straps. However, it’s best to consult your specific rack’s manual for a complete list.
Do I need to remove the front wheel of my bike for any Thule rack?
Roof-Mounted Racks:
Thule roof-mounted racks typically require removing the front wheel.
You’ll place the bike on the rack with the front fork secured in a fork mount or through-axle adapter.
The rear wheel remains intact, but the front wheel is detached and stored separately (e.g., inside the vehicle or in a wheel bag).
Wheel-On Hitch Racks:
Some Thule hitch-mounted racks allow you to keep the front wheel on.
These racks have wheel trays where you place the bike wheels.
The bike is secured using frame clamps or straps, and the front wheel remains attached.
Wheel-Off Hitch Racks:
Other Thule hitch-mounted racks require removing the front wheel.
These racks have cradles for the bike frame, and the front wheel is stored separately.
Removing the front wheel ensures a more compact fit.
How do I secure my bike properly on the rack?
Each Thule rack uses different mechanisms for securing bikes. Always follow the specific instructions for your model. This typically involves using straps, clamps, or cradles to secure the frame and wheels firmly. Double-check everything before hitting the road to ensure a secure fit.
Are there any weight limitations I should be aware of?
Yes, every Thule bike rack has a weight limit. It’s crucial to never exceed this limit, as it can compromise safety and damage the rack or your vehicle. Additionally, check your vehicle’s hitch weight limit to ensure it can handle the total weight of the rack and bikes combined.